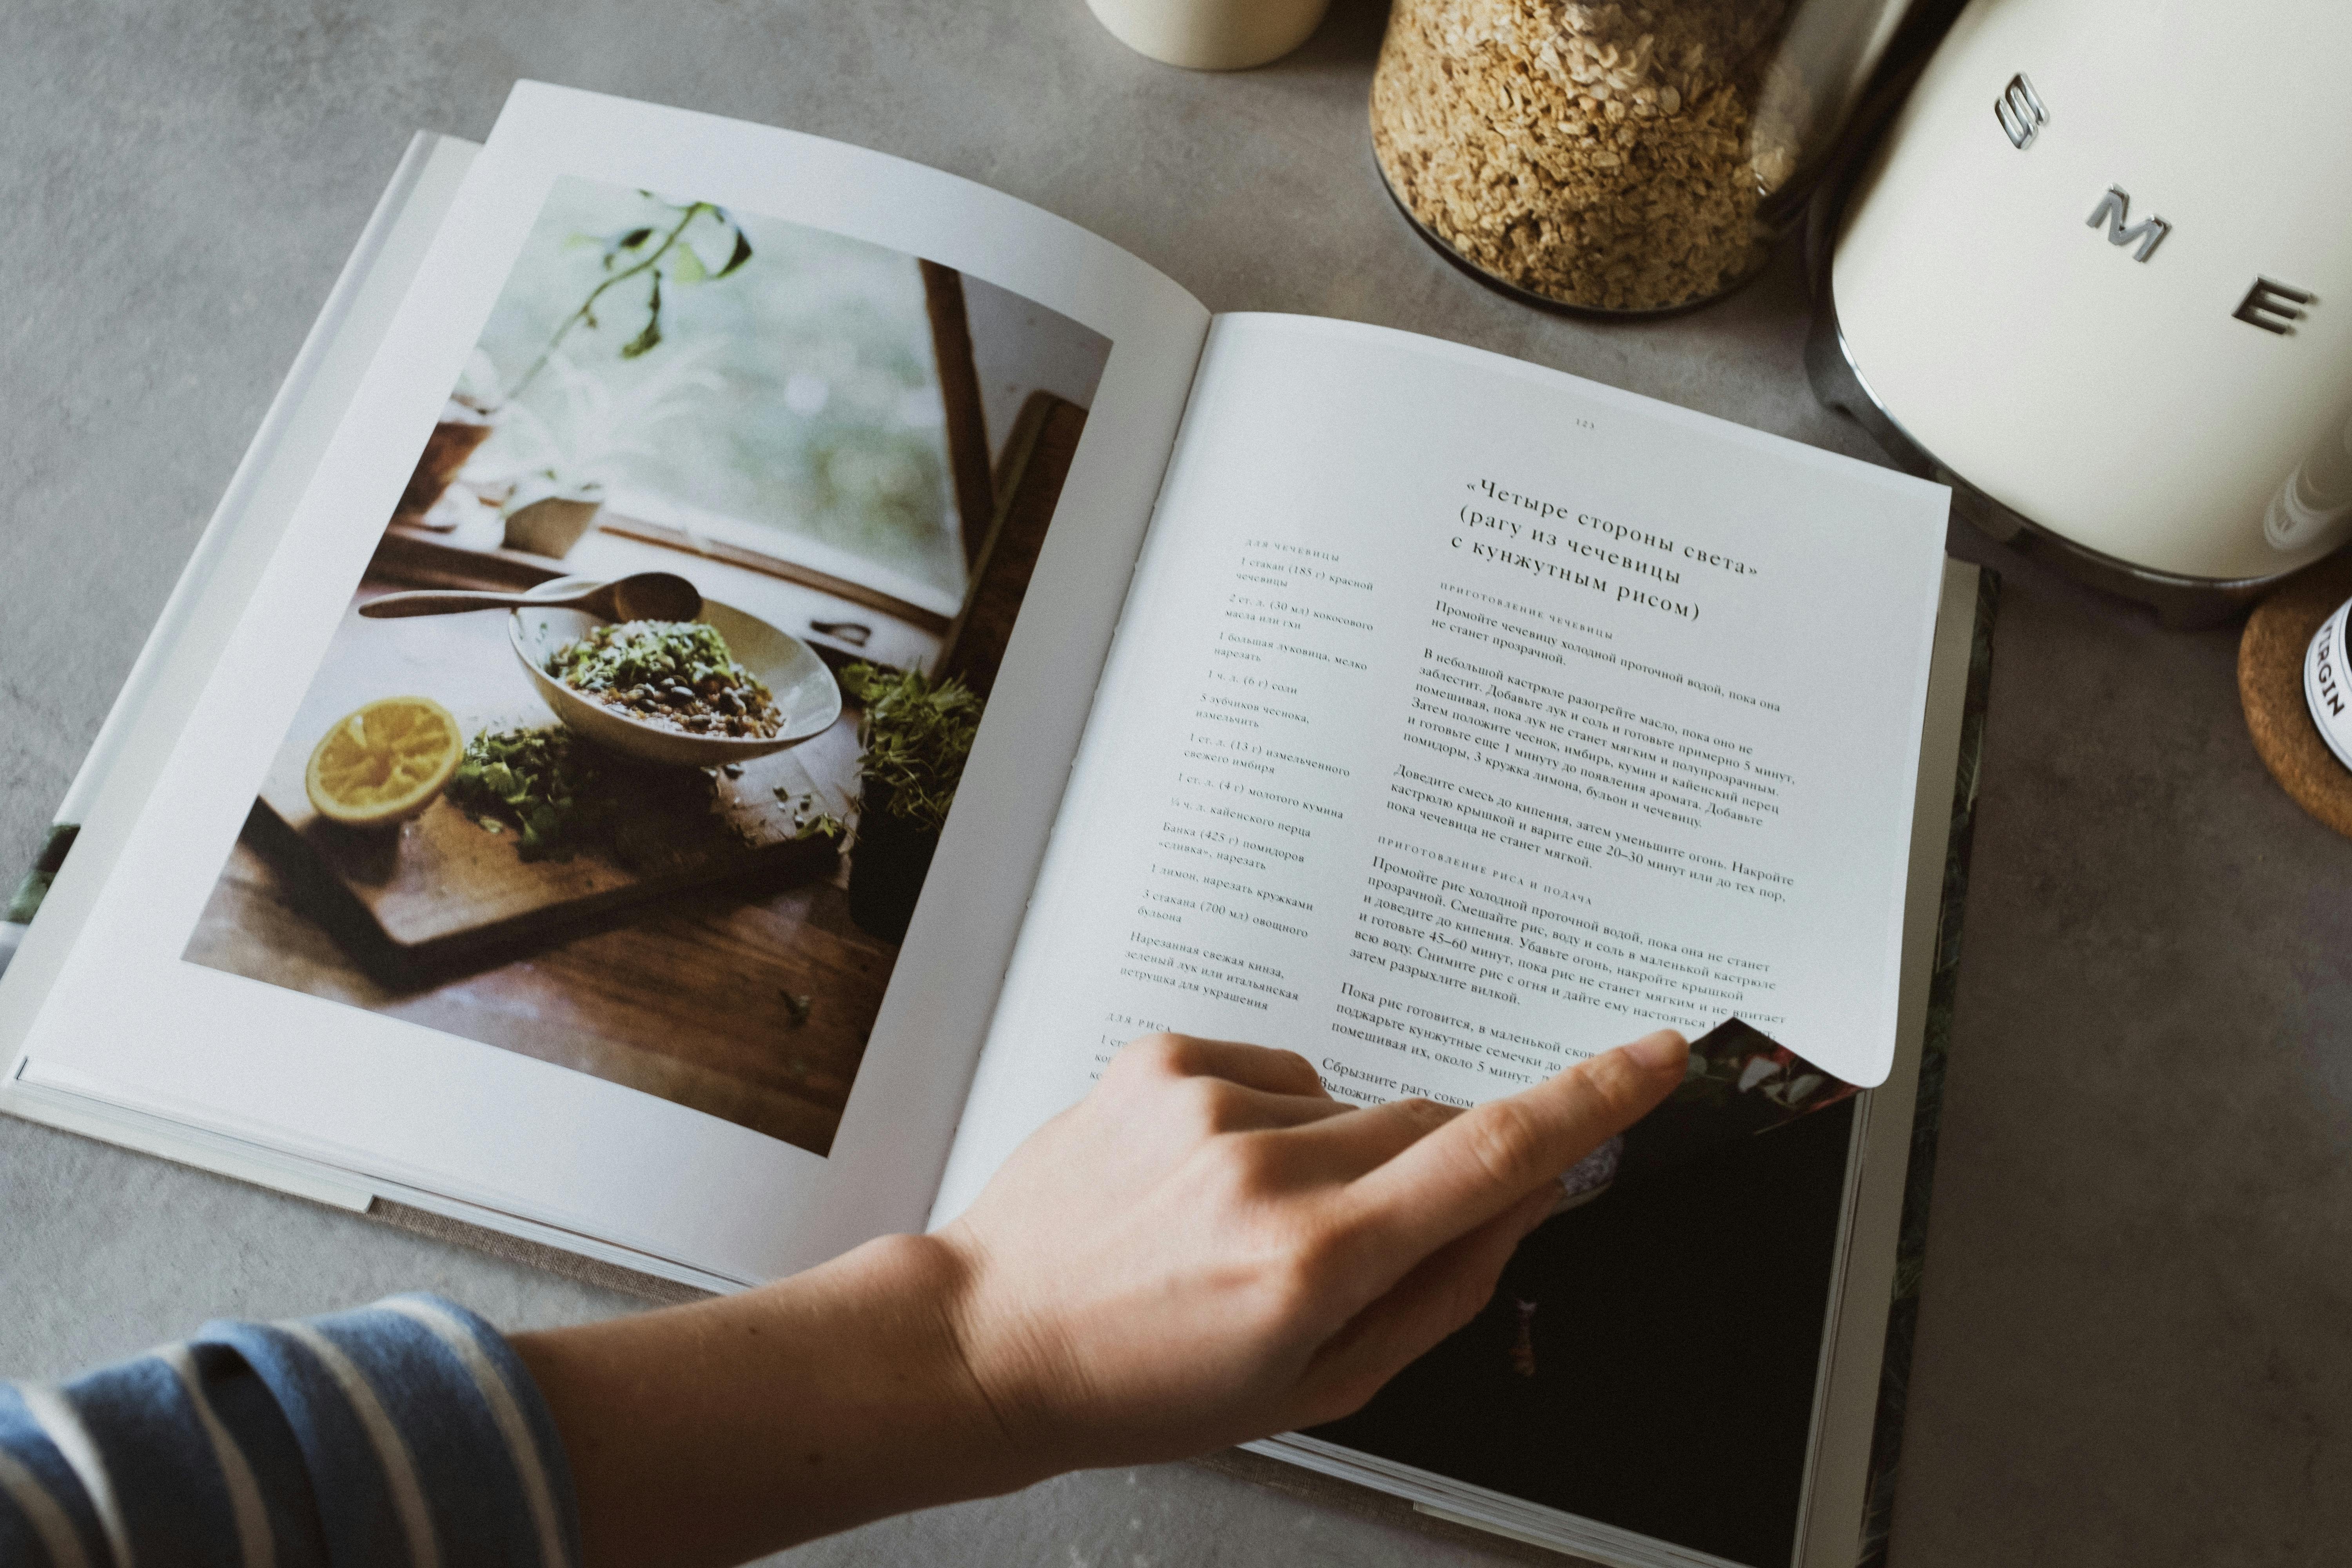
You’ve found it. The perfect recipe. A creamy, dreamy pasta that looks like it descended from the heavens. You’re pumped. You’re ready. You pull up the instructions and… your heart sinks. A wall of text stares back at you: “sauté,” “deglaze,” “fold in gently,” “cook until fragrant.” Suddenly, your kitchen feels less like a creative space and more like a final exam you didn't study for. We've all been there, standing amidst a chaotic mess of half-chopped onions and smoking pans, wondering where it all went wrong. The truth is, cooking isn't just about throwing things in a pot; the first and most crucial skill is learning how to read recipes properly. Think of it as your roadmap to a delicious destination. This guide will break down that scary wall of text into easy, manageable steps, transforming you from a panicked beginner into a cool, calm, and collected kitchen whiz.
Before You Even Chop an Onion: The Golden Rule of Recipe Reading
If you take only one thing away from this post, let it be this: read the entire recipe from start to finish before you do anything else. Seriously. Read it. Then read it again. It sounds almost stupidly simple, but it’s the single most common mistake beginners make. Jumping straight to step one without knowing what’s in step seven is like starting a road trip from Sydney to Melbourne with no map and half a tank of petrol. You’re setting yourself up for a stressful journey.
Step 1: The Full Read-Through (Yes, All of It)
Scan the ingredients list. Read through every single step of the method. Look at the cooking times and temperatures. This first pass gives you the big picture. You'll spot any weird techniques or equipment you might not have.
Step 2: Visualise the Process
On your second read-through, mentally walk through the steps. Imagine yourself chopping the capsicum, searing the mince, and adding the spices. This helps you understand the flow of the recipe. You’ll start to see where the busy moments are (e.g., “while the pasta is boiling, quickly make the sauce”) and where you have downtime. This mental rehearsal is a game-changer for timing.
Step 3: Check Your Arsenal (Pantry & Equipment)
Now, get practical. Do you actually have everything? It’s a special kind of pain to realise halfway through that you don’t own a 20cm springform pan or that the “sumac” you thought you had was actually paprika. Check your pantry for all the ingredients, from the main players down to the ½ teaspoon of Keen’s mustard powder. Check your drawers and cupboards for the right pots, pans, bowls, and utensils.
Cracking the Code: How to Read Recipes and Their Mysterious Ingredients
The ingredients list is more than just a shopping list; it’s a set of precise instructions. The way it’s written tells you exactly how to prepare each item. Understanding this grammar is fundamental to learning how to read recipes correctly.
The Comma is Your Commander-in-Chief
The placement of a comma in an ingredients list is crucial. It separates the ingredient from the action you need to perform. This is one of the most important parts of recipe instructions for beginners to grasp.
- "1 brown onion, finely diced": This means you take one whole brown onion and then finely dice it. The measurement comes before the prep.
- "1 cup walnuts, roughly chopped": This tells you to measure one cup of whole walnuts first, and then chop them up.
- "1 cup chopped walnuts": This is different! It means you need to measure one cup of walnuts that have *already been chopped*. Because chopped nuts are smaller and denser, "1 cup chopped walnuts" is actually more walnuts than "1 cup walnuts, chopped". Mind-blowing, right?
Paying attention to this little punctuation mark will save you from major measurement mishaps.
What's on the List? A Guide to Aussie Supermarket Staples
Most recipes on "Feed Yo'self" use ingredients you can find at any Coles, Woolies, or IGA. Here’s a quick rundown:
- Passata: This is pure, sieved tomatoes. You'll find it in a glass bottle, usually near the pasta sauces. It’s the secret to a smooth, rich tomato base.
- Mince: This is what we call ground meat. Beef mince is a staple, but don’t sleep on pork, chicken, or even kangaroo mince!
- Herbs: We say coriander (not cilantro), rocket (not arugula), and spring onions (not scallions). You'll find them fresh in the produce section.
- Spices: Brands like Masterfoods or Hoyts have you covered for everything from paprika to cumin. You don't need to be fancy here.
- Specialty Items: Sometimes a recipe calls for something a bit different, like gochujang or fish sauce. Don't panic! Check the international aisle at your supermarket first. If not, a trip to a local Asian grocer will have you sorted. They are treasure troves of flavour.
The Method to the Madness: Making Sense of Recipe Instructions for Beginners
The method is your step-by-step action plan. The order is almost always non-negotiable, as each step builds on the last. This is where your pre-read and visualisation pay off big time.
Your Secret Weapon: "Mise en Place"
You’ll see this French term on fancy cooking shows. It simply means “everything in its place.” It’s the professional habit of preparing all your ingredients *before* you start cooking. Yes, all of them.
- Chop all your vegetables (onions, capsicum, zucchini).
- Mince or grate your garlic and ginger.
- Measure out all your liquids (stock, cream, wine).
- Measure out all your spices into a small bowl.
It feels like a lot of upfront work, but once the heat is on, you can cook smoothly and calmly, adding ingredients as needed instead of frantically trying to chop an onion while your garlic is burning. This is the single best habit to develop for stress-free cooking.
Common Cooking Terms Explained
Recipes use a lot of shorthand. Here are some of the most common cooking terms explained so you're not left guessing:
- Sauté: To cook something quickly in a hot pan with a small amount of fat (like oil or butter). The goal is to soften and lightly brown the food, not deep-fry it.
- Sear: To cook the surface of a piece of meat at a very high temperature until a caramelised crust forms. This is where the flavour is!
- Deglaze: After searing meat or sautéing veggies, you'll have tasty browned bits (called 'fond') stuck to the bottom of the pan. Deglazing means adding a liquid (like wine, stock, or even water) to the hot pan to lift all those bits off. You're essentially creating an instant, flavour-packed sauce.
- Cream: This doesn't always involve cream! In baking, it means to beat softened butter and sugar together (usually with an electric mixer) until the mixture is pale, light, and fluffy. This step incorporates air, which is essential for light cakes and biscuits.
- Fold: A gentle mixing technique used to combine a light, airy mixture (like whipped cream or egg whites) into a heavier one (like a cake batter) without knocking out all the air. Use a spatula to cut down through the middle of the bowl, scrape along the bottom, and bring some of the bottom mixture up and over the top.
- Braise: A two-step method where you first sear the main ingredient (usually meat) and then simmer it slowly in a covered pot with some liquid. It's perfect for tougher cuts of meat, making them fall-apart tender.
Don't Just Trust the Clock: Temperature, Timing, and "Until Golden Brown"
Perhaps the most anxiety-inducing part of a recipe is the timing. "Cook for 15-20 minutes." But what if it's still raw at 20 minutes? Or burnt at 15? The key is to see time as a guideline, not a rule. Sensory cues are your true north.
Oven Temperatures Aren't Suggestions
Always, always, preheat your oven. Putting your food into a cold oven completely wrecks the cooking process. Most Australian recipes are written for a fan-forced oven. If you have a conventional oven (no fan symbol), a good rule of thumb is to increase the temperature by about 20°C. So, if a recipe says 180°C fan-forced, set your conventional oven to 200°C.
"Your oven is a liar. An oven thermometer is cheap and will tell you the truth about what temperature you're actually cooking at."
Decoding "Doneness": How to Tell When It's Ready
Recipes give you clues beyond just time. Learning to spot them is a core part of your journey in understanding how to read recipes.
- For cakes and muffins: The "skewer test." Insert a thin wooden skewer or toothpick into the centre. If it comes out clean (or with a few dry crumbs), it's done. If it has wet batter on it, it needs more time.
- For chicken: Pierce the thickest part of the meat (e.g., the thigh). The juices should run clear, not pink. For ultimate certainty, a meat thermometer is your best mate – chicken is safe at 75°C.
- For pasta: "Al dente," which is Italian for "to the tooth." It should be cooked through but still have a slight, pleasant bite in the centre. Start testing it a minute or two before the packet says it'll be ready.
- For sautéed vegetables: "Tender-crisp." The veggies should be cooked enough that they're not raw, but still have a bit of a snap to them. Mushy vegetables are sad vegetables.
- Universal cue: "Until fragrant" or "until golden brown and delicious (GBD)." Trust your nose and eyes! When you can smell the garlic and spices, they've done their job. When your roast potatoes are beautifully browned, they're ready.
Key Takeaways
- Always read the entire recipe at least once before you start.
- Embrace "mise en place": prep all your ingredients before turning on the heat.
- Pay attention to the comma in the ingredients list to know when to prep vs. when to measure.
- Preheat your oven! And know if your recipe is for fan-forced or conventional.
- Use time as a guide, but rely on sensory cues (sight, smell, touch) to determine doneness.
- Don't be afraid to look up cooking terms you don't recognise.
- Start with simple recipes to build your confidence in how to read recipes effectively.